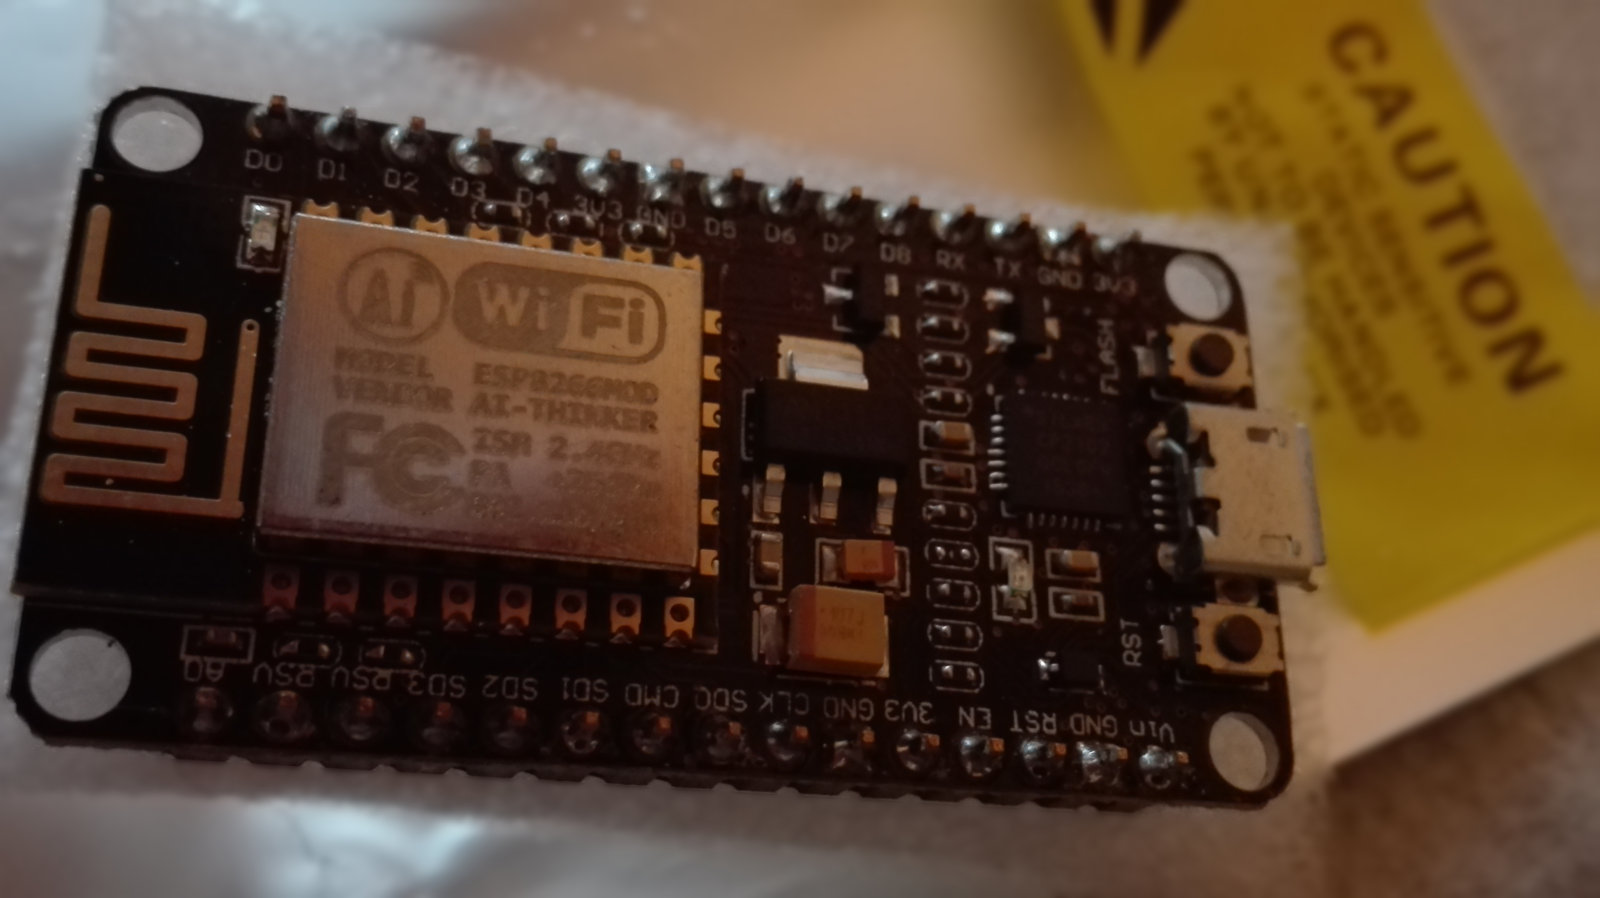
I received a brand new NodeMCU from China I got on ebay a few days ago. The NodeMCU takes an ESP8266 Wi-Fi chip and sticks it in a complete package with breadboard friendly GPIO pins and one USB port for power and communication with a computer.
If you connect it to the USB port of the computer, the chip should boot and blink the blue Wi-Fi ativity led a couple of times. After that, it probably is connected as /dev/ttyUSB0, but you can find out by doing dmesg | grep tty. I’m using elementary OS Freya, so the command instructions I used should be valid for most Ubuntu based systems.
Next, just to confirm it is working, you can get ESPlorer, unzip the archive and run it (you will need at least Java 7) with java -jar ESPlorer.jar.
When it starts, you should select the USB port on the top left side combobox with 115200 baud rate and click Open. If it works, you should get back the chip firmware information. Looks like mine has a resonably recent Ai-Thinker AT firmware. All ok so far :)

You can use the Espressif SDK to program it using C, or if you flash it with the NodeMCU firmware, you can use the development kit with Lua scripting to write programs with a Node.js style event-driven API.
But what I really want is to try out using JavaScript to program it! And that is what the Espruino project allows. So let’s flash it with the ESP8266 flavour Espruino firmware.
First, download the Espruino ESP8266 binaries archive and extract it. You will also need a flash tool to load the firmware onto the chip. I used esptool.py, so you will need to have both python and pySerial installed on your system.
sudo apt-get install python-serial
git clone https://github.com/themadinventor/esptool.git
cd esptool
python setup.py install
After cloning the esptool repository, I also ran the setup.py script to install it system-wise.
The NodeMCU comes in two different devkits, the 0.9 and the 1.0. They use different flash chip components, so the flashing command is a bit different: you need to specify the correct flash mode so it can load the firmware when it boots.
For devkit 0.9 (blue and larger board) use flash mode qio. For devkit 1.0 (black and slimmer board) use flash mode dio. The other parameters are the same. Mine was 1.0, so this was the command I used:
esptool.py --port /dev/ttyUSB0 write_flash -fm dio -ff 80m -fs 32m 0x0000 boot_v1.4\(b1\).bin 0x1000 espruino_esp8266_user1.bin 0x3fc000 esp_init_data_default.bin 0x3fe000 blank.bin
It will start uploading the firmware and after a few seconds, it should be done. Press the reset button or reconnect the to USB. After that, you can use screen to check out the firmware.
screen /dev/ttyUSB0 115200
You should get back a JS interpreter prompt, where you can try out JavaScript commands. If you do reset(), it will clear the interpreter current status, providing you with a clean slate.

Check out more of the available APIs on the Espruino site and also the Espruino Web IDE.